For a few years now, my crafty daughter and I have wanted to make a haunted dollhouse as a Halloween decoration/craft project.
I’m not particularly crafty myself, but we had already made some adorable dollhouses out of vintage suitcases, so we had a few tricks up our sleeves!
But as ready as we were to go on this project, we just couldn’t find an inexpensive dollhouse. I mean, we’re cheap. Like, really cheap.
So two years went by.
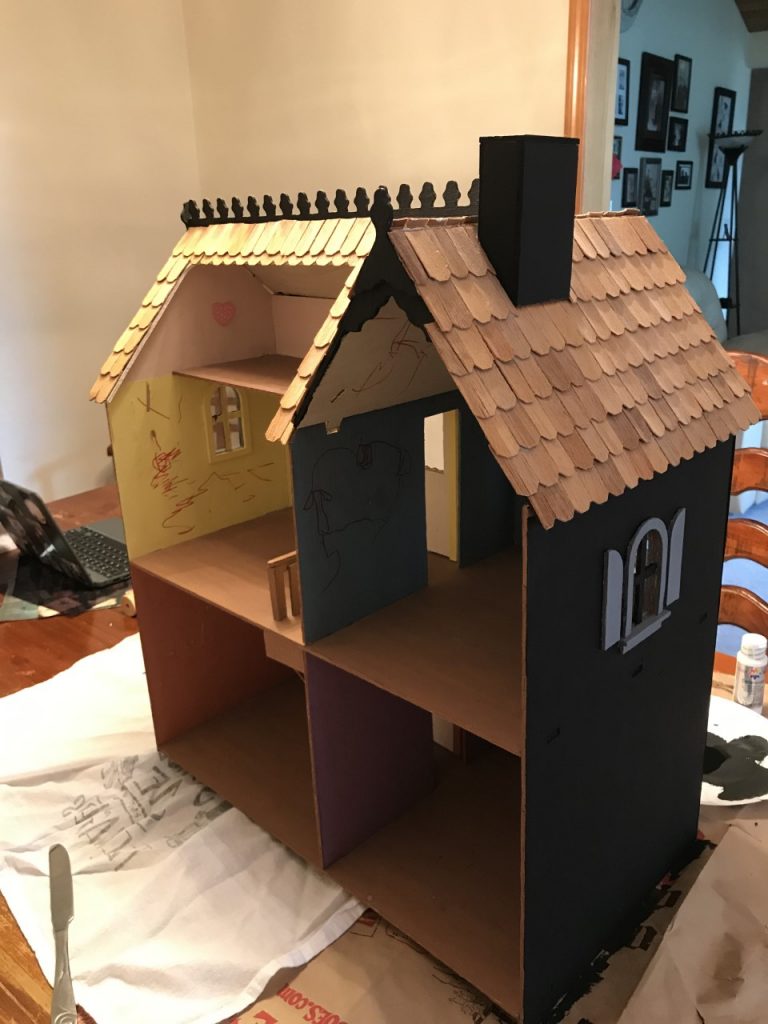
Then about a month ago, I was wandering through Goodwill as one does, and this cute house popped out at me. It had been scribbled on with markers, but it was stable, the right size, and most important of all, it was $9.99.
Yes, $9.99.
So now you get to hear about how to make a haunted dollhouse. You’re welcome.
How to Make a Haunted Dollhouse
Please note that this post contains affiliate links, which means that if you purchase something you see on our site we may receive a commission at no cost to you. Read our full disclosure here.
Step 1: Get an old dollhouse
Materials needed: A dollhouse, years of patience to find it cheap enough, (optional) negotiating skills for talking down ridiculous Craigslist prices
“Finally got that dollhouse you always wanted, huh?” the clerk chuckled when I plopped it down on the counter.
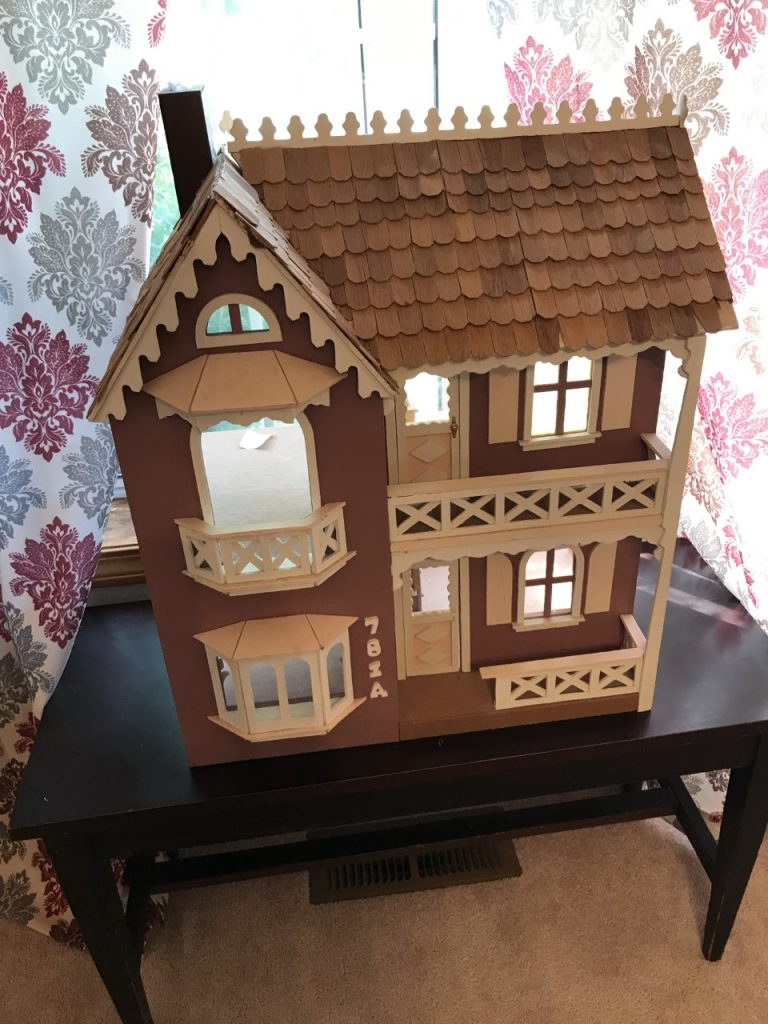
It had clearly been made from a kit, and some kiddo had played with it quite a bit.
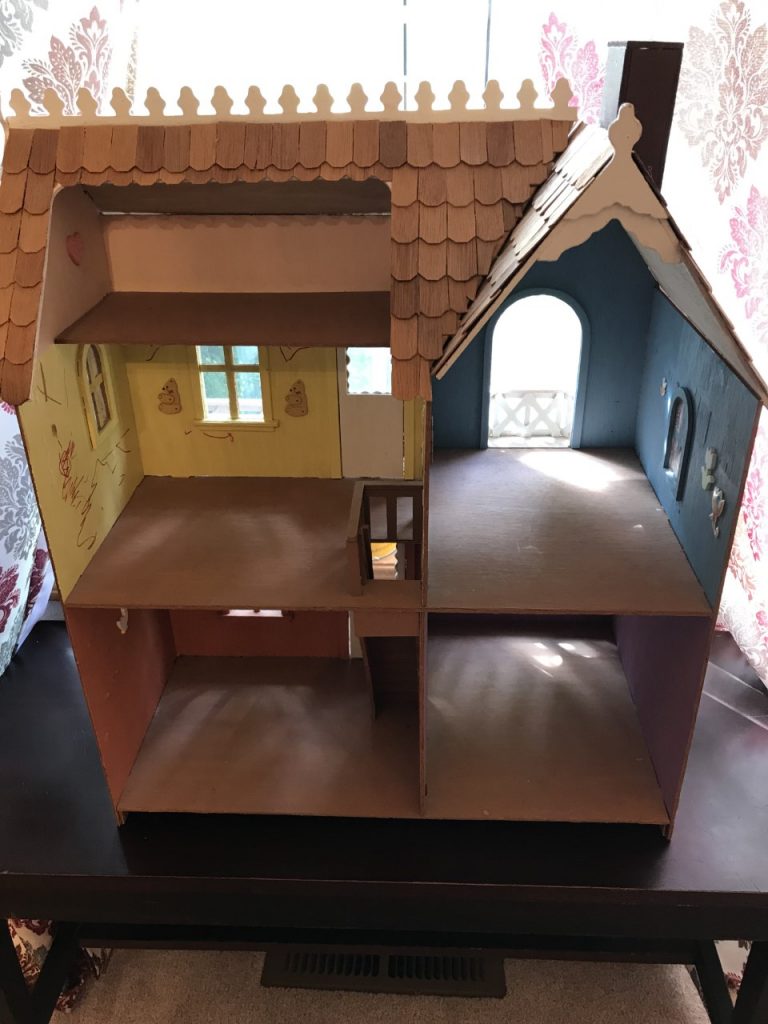
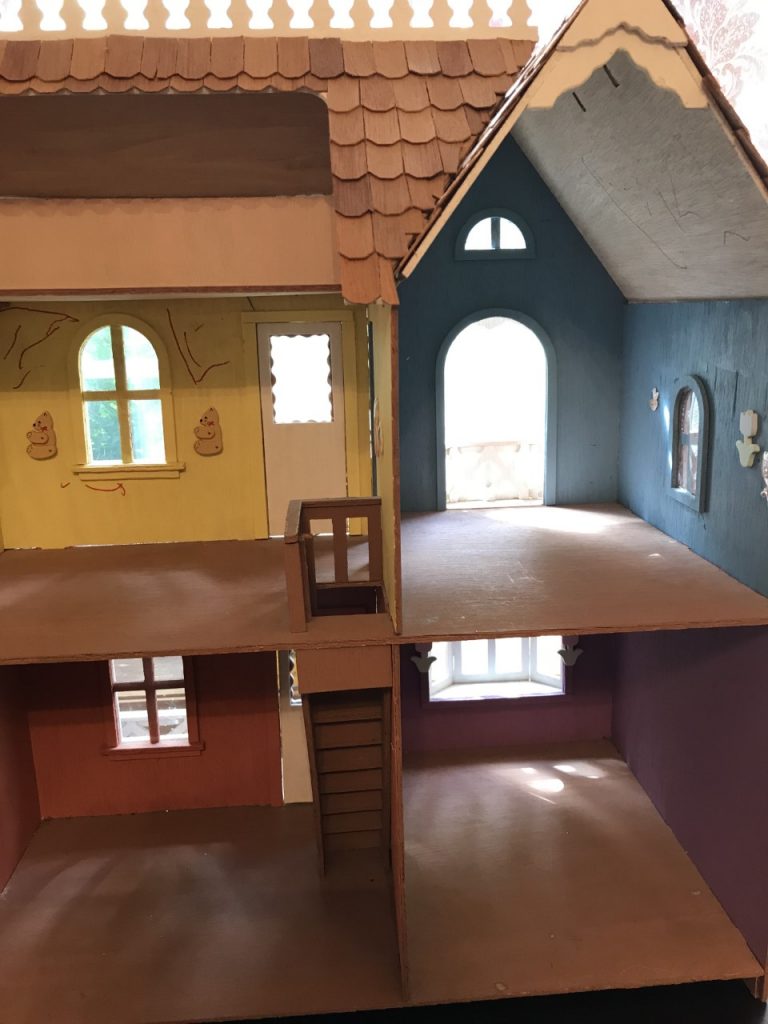
You might get lucky like we did with a thrift store find. You know the other alternatives: Craigslist, Facebook Marketplace, garage sales, flea markets, build your own, or just bite the bullet and get a dollhouse kit online.
Step 2: Repaint
Materials needed: Foam brushes, acrylic paint (black and gray are ideal, perhaps orange accents), wine (for sustenance)
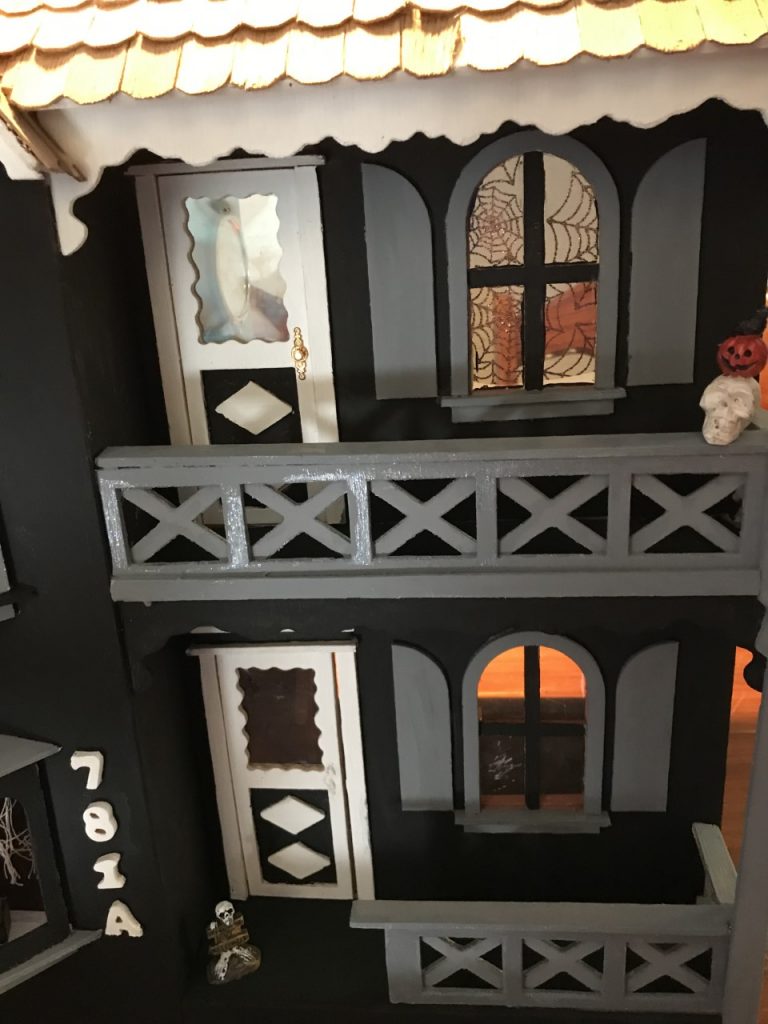
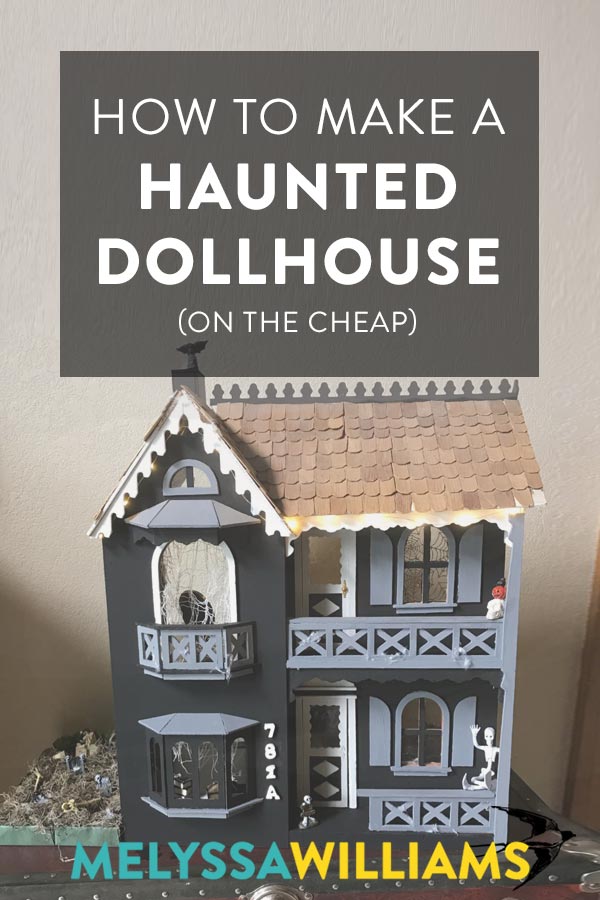
The first thing we did was paint the outside with acrylic paint. We chose black and gray, and left some of the trim the original white.
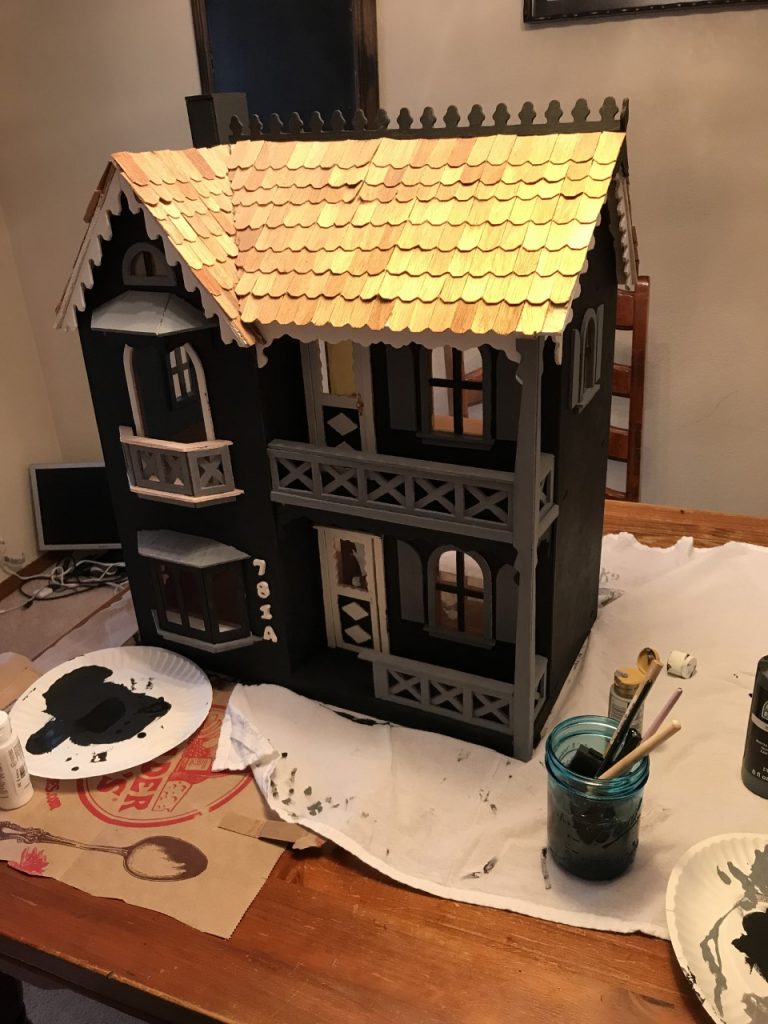
Small paintbrushes in various sizes fit the bill, and the smallish sponge brushes like these ones worked perfectly for the larger surfaces.
If you started with the kit not already put together yet, the painting of the trims, windows, and fence would have been a lot easier! But it really went pretty fast, all things considered.
Step 3: Wallpaper/paint interior
Materials needed: Brushes and paint from Step 2, a pack of spooky scrapbook paper, glue/adhesive, contact paper, snacks (to counteract the wine)
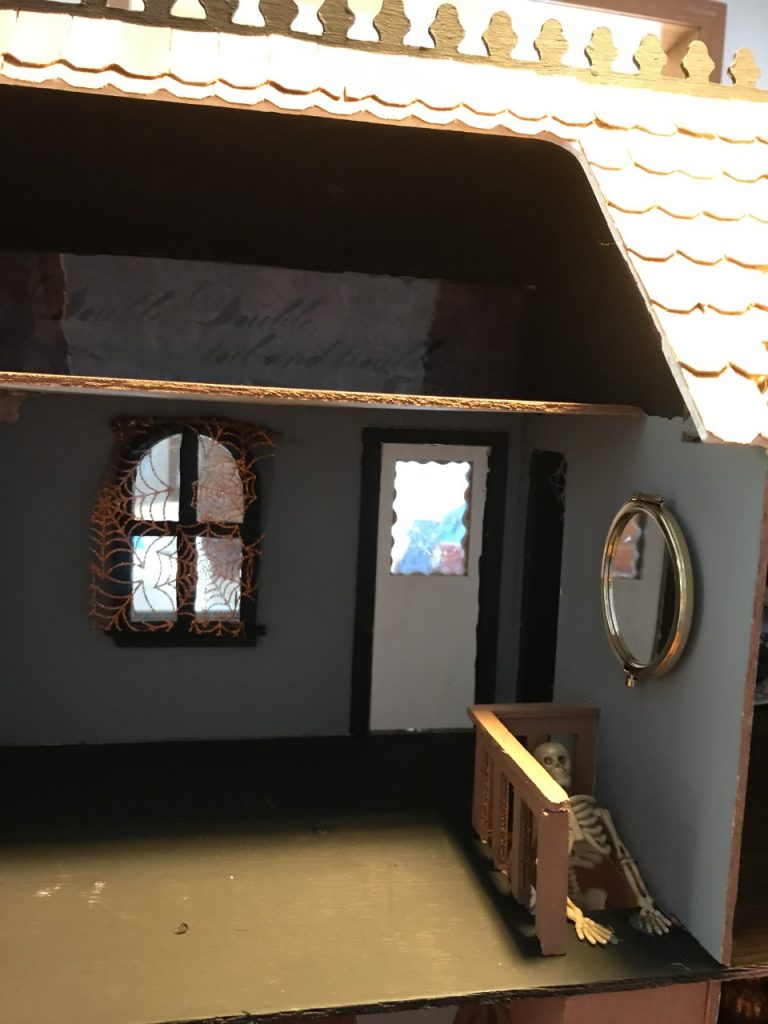
We painted some of the walls black and gray, and used scrapbooking paper from Michael’s to “wallpaper” other walls. For the floors, we used contact peel and stick paper from the Dollar Tree that looked like hardwood floors!
With the exception of the paper (which was literally .25 per sheet) that we got from the Halloween section of Michael’s, everything we used for our haunted house came from the thrift shops and the Dollar Tree.
Step 4: Add decorations
Materials needed: Tiny frames, spooky pics printed from the web or cut from old books/magazines, misc Dollar Tree Halloween accents, skeletons, a highly developed sense of the macabre
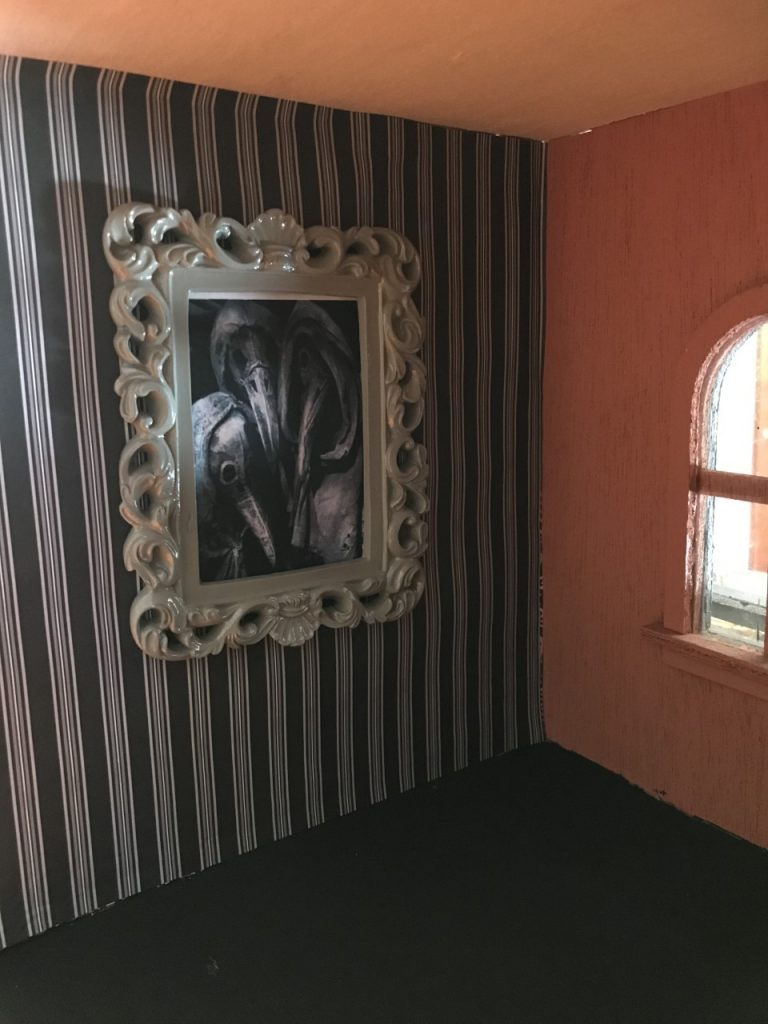
Find the smallest photo frames you can at a thrift shop, or did you know there’s a Goodwill ONLINE?! Mind blown.
That’s life changing information right there. Order all your supplies from Amazon and Goodwill, and you’ll barely have to leave your house to get down with your crafty self!
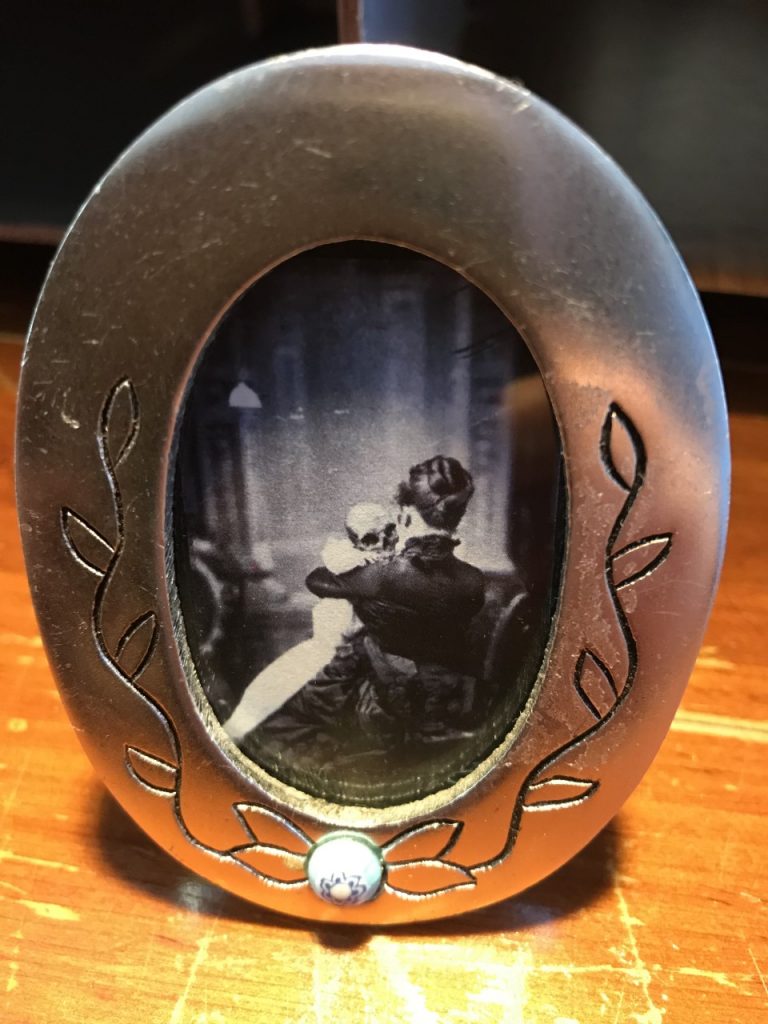
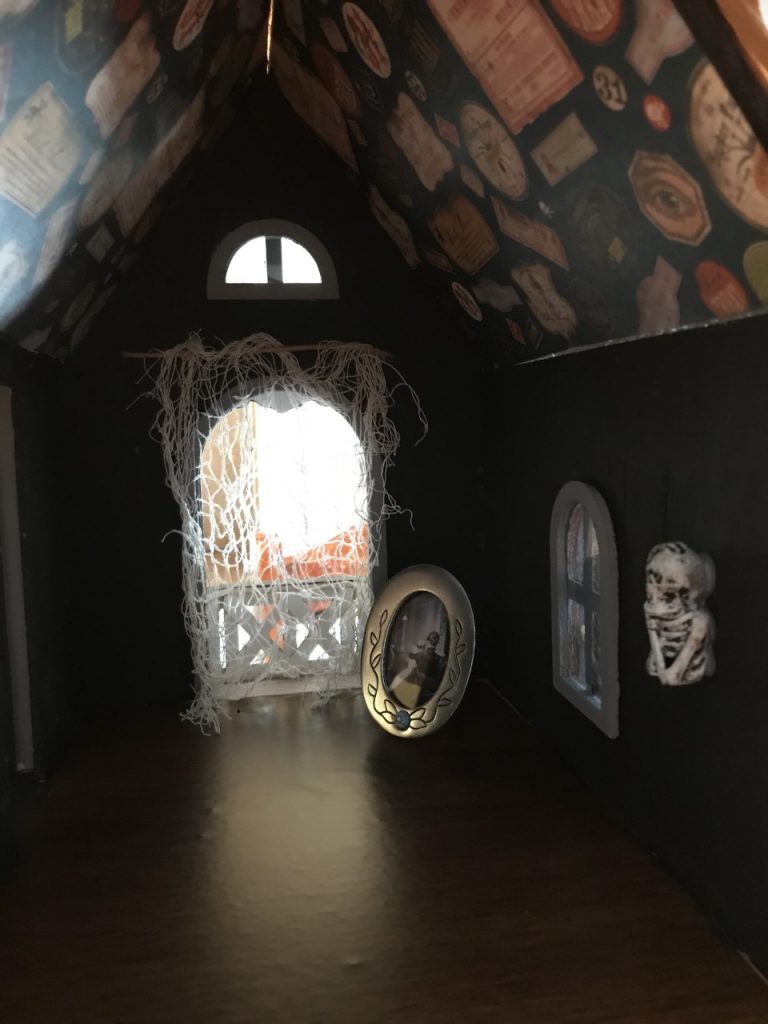
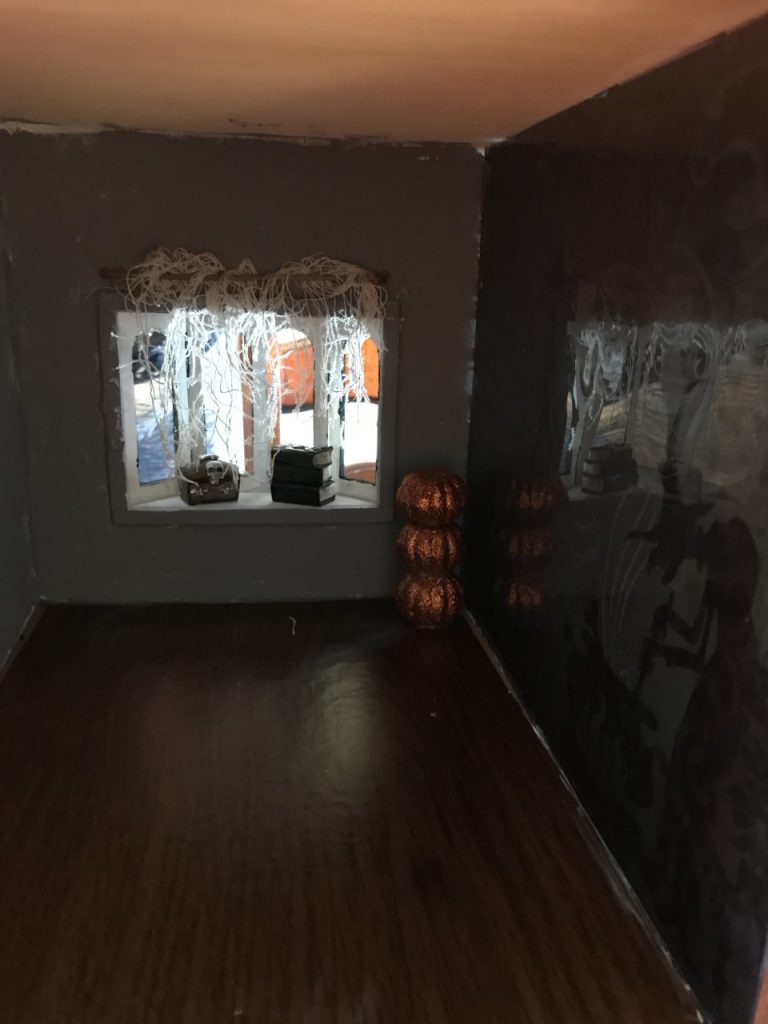
For the windows, I used tiny twigs from my yard as curtain rods, then attached Halloween material from the Dollar Tree.
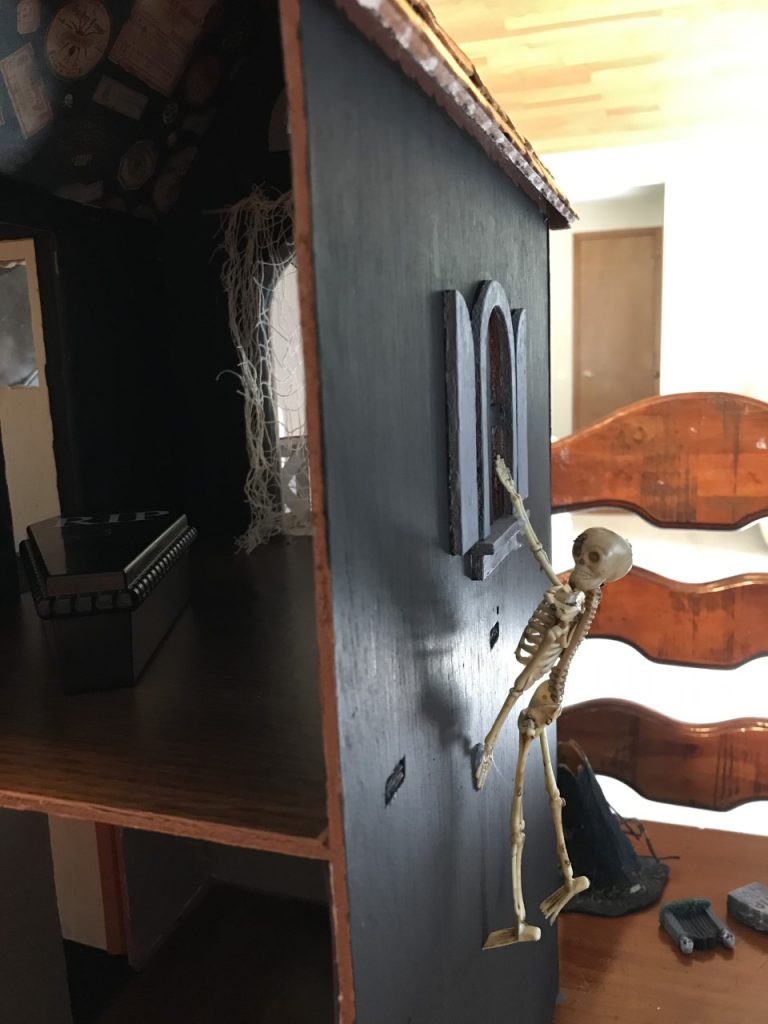
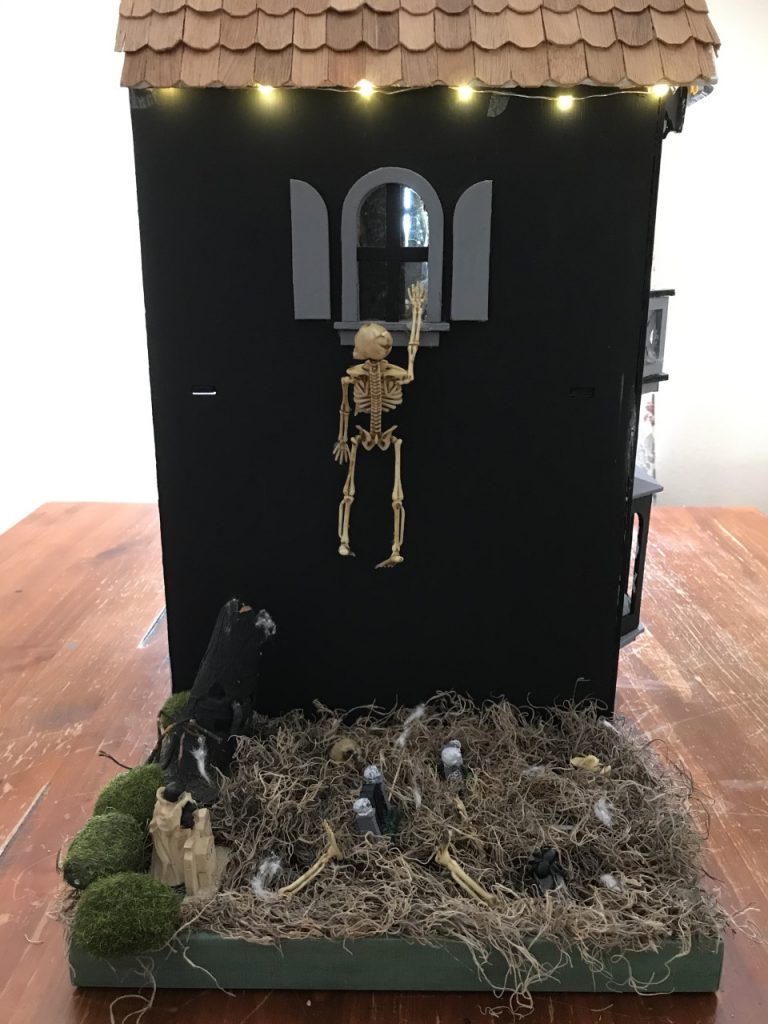
The pack of skeletons came as a garland from the Dollar Tree. I cut them apart and used them in various places throughout the house. This one above is climbing the walls to get in.
We weren’t sure whether to go totally creepy, gore fest, or more cute, child friendly. I think we struck a good balance! It’s a great conversation piece, and if you have a mildly strange child (like I do), they might love to actually play with it.
Step 5: Add Furniture
Materials needed: An old compact mirror, soap dish with cotton and marbles for a bathtub, and… Ok seriously I’m not going to do all your work for you, come up with some of your own darn ideas
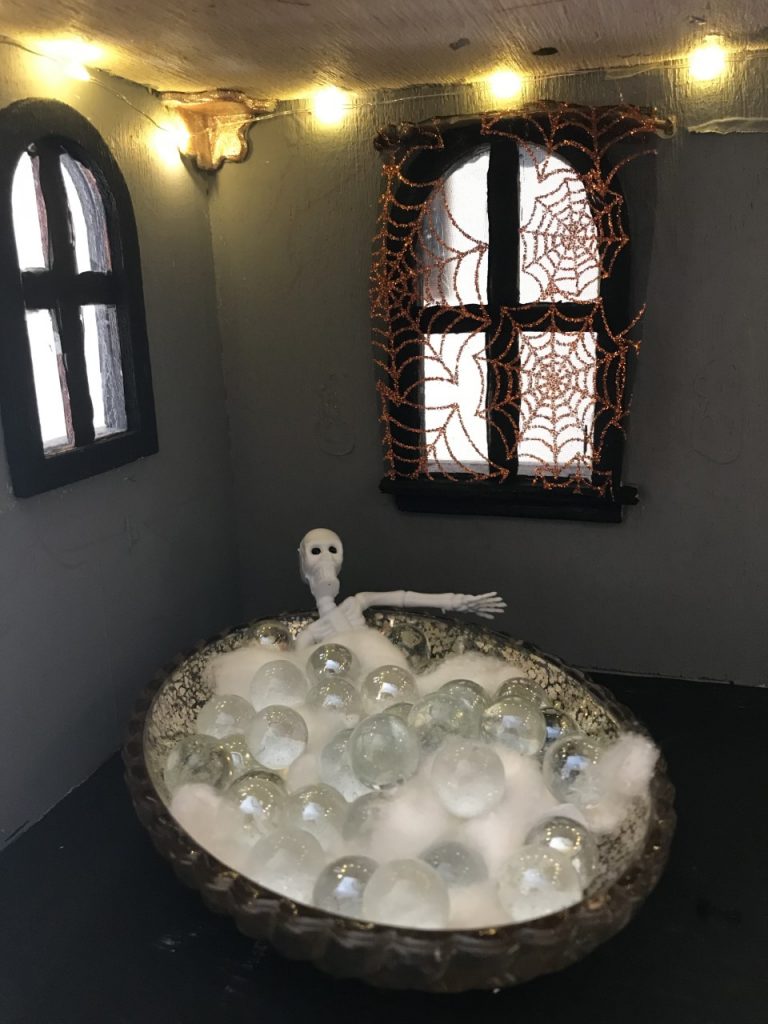
As far as other furniture goes, we broke apart a compact mirror from Goodwill, and used one side as a mirror for the wall.
A soap dish, also from Goodwill, made a perfect bathtub for one of our skeletons, and we filled it with cotton balls and clear marbles as his bubbles.
The coffin was an old decoration we had had from Halloweens before.
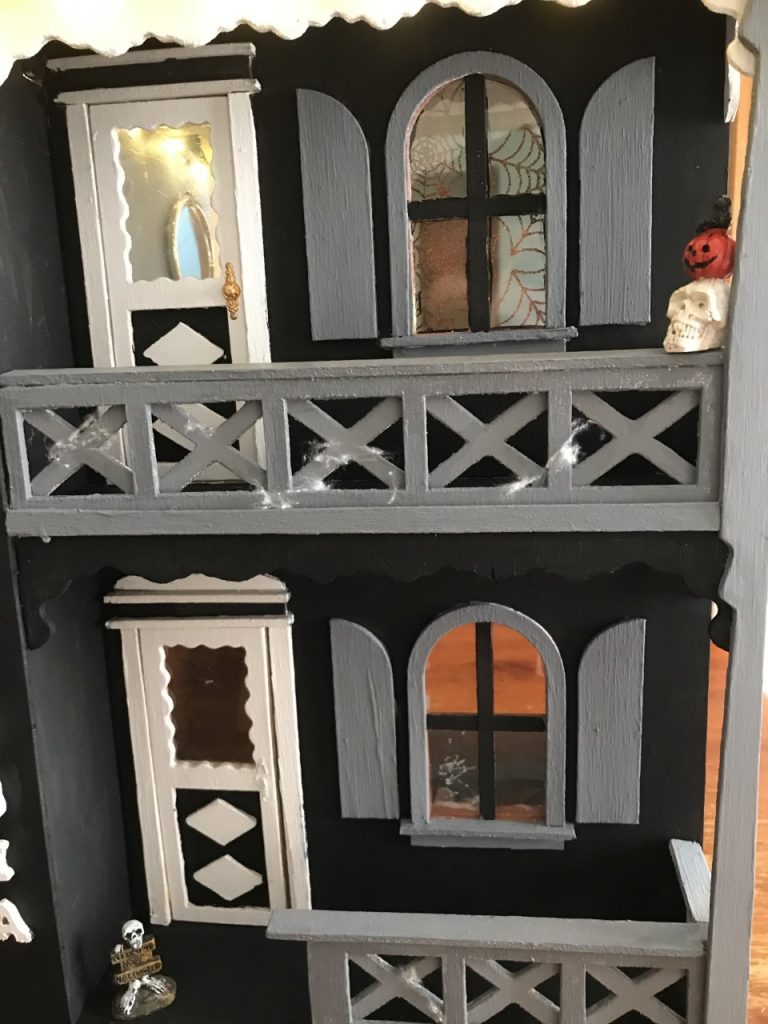
If you wanted to go more on the gore side, you could transforms Barbies or other small dolls into zombies. My husband suggested dipping Barbie’s hands in red paint and putting bloody handprints on the walls … Creepy clown dolls, witches, and ghosts would all be fun additions. The gables are kind of perfect for hanging some poor soul off of.
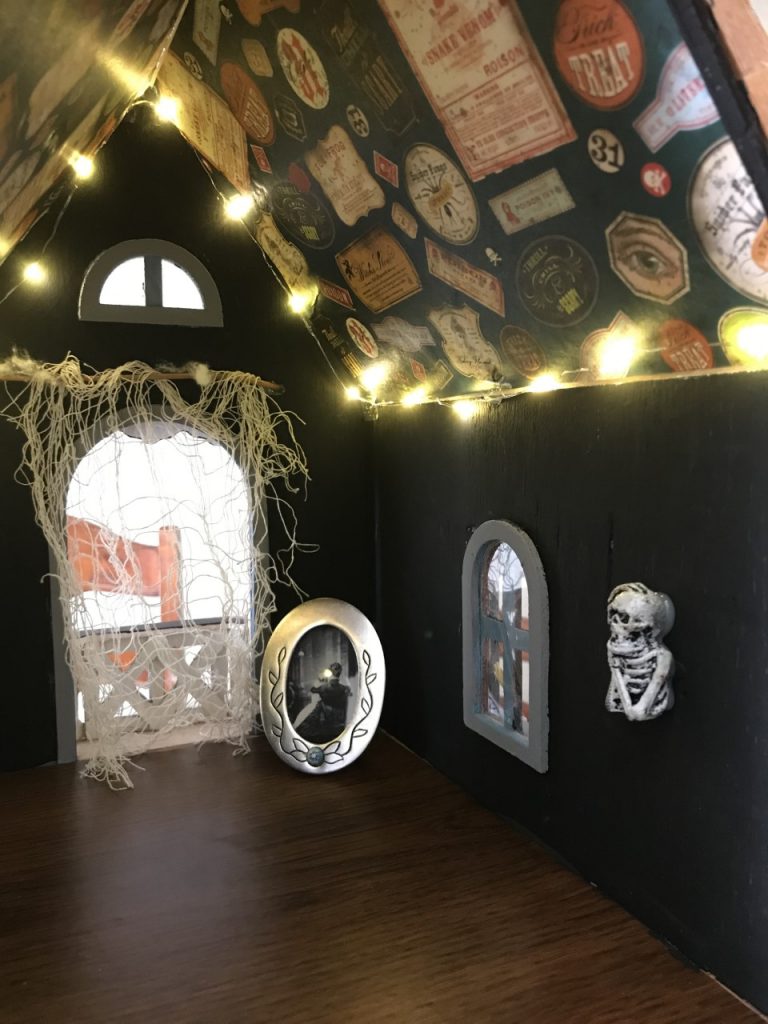
I didn’t want too many loose decorations or furniture or characters to get lost or rattle around, either during storage, or during transportation, should I decide to display it somewhere or sell it, so I didn’t go too nuts with those things. The skeletons I glued down, though they could be popped off if we change our minds later.
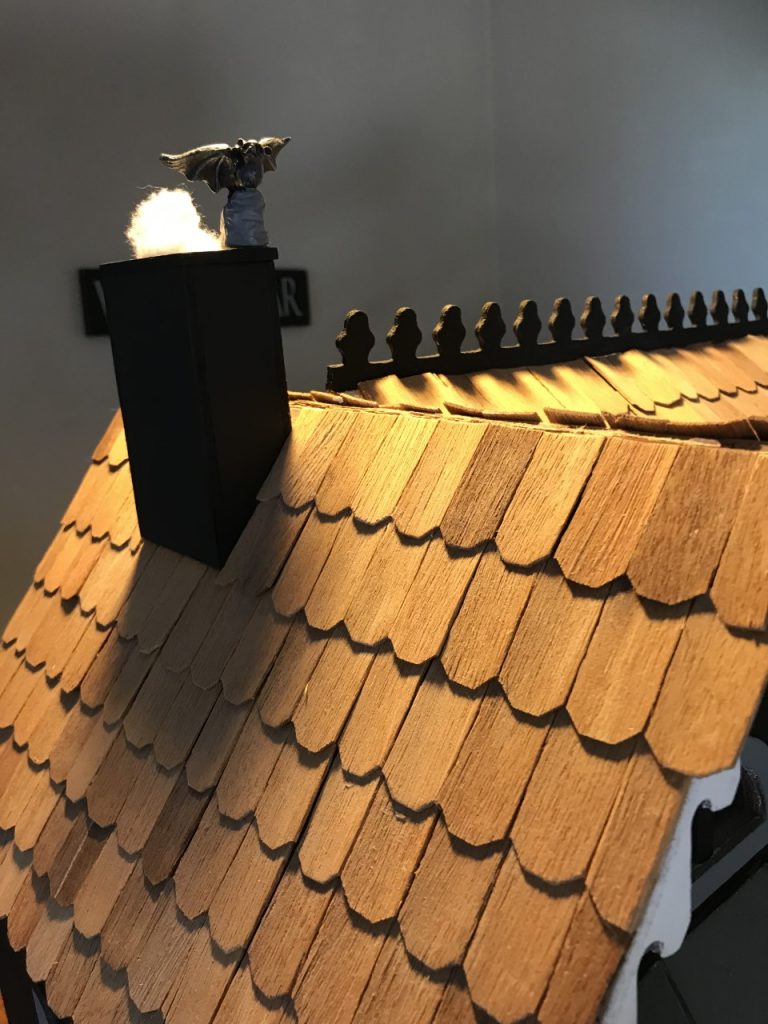
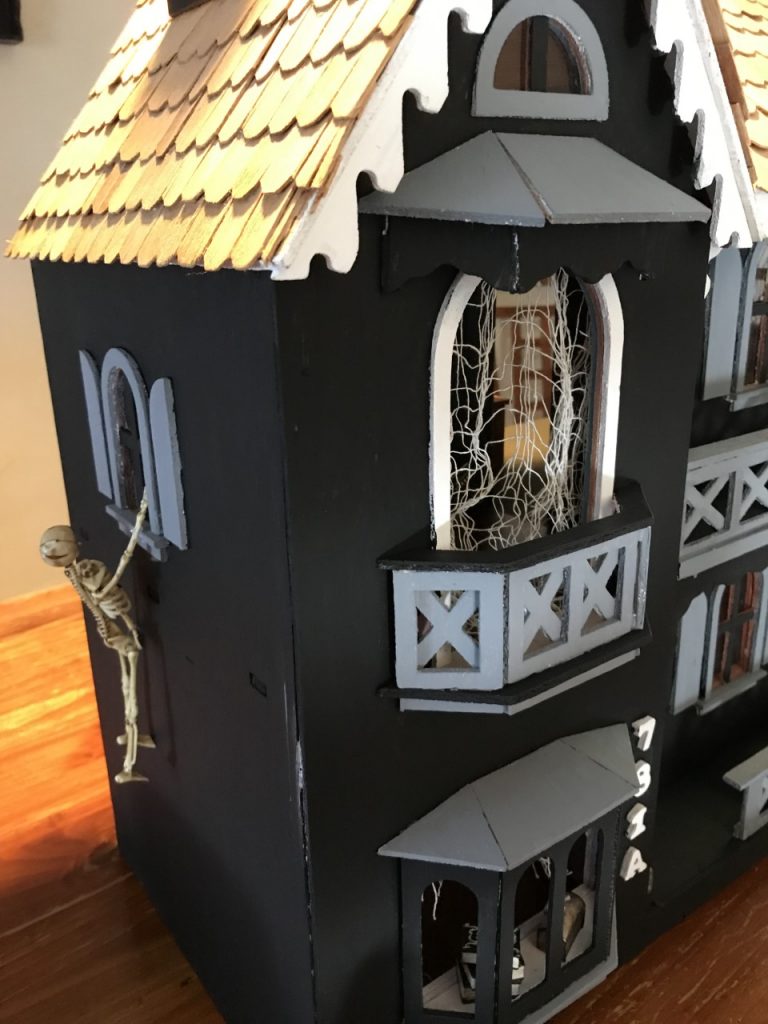
If you have trouble finding a dollhouse at a yard sale or a thrift shop, this kit could totally fit the bill!
Step 6: Landscape (aka How to Make a Dollhouse Graveyard)
Materials needed: Spanish moss, hot glue gun, a small canvas (or wood) to serve as the base, fairy lights, headstones and skeletons from the dollar store, Thriller for background music
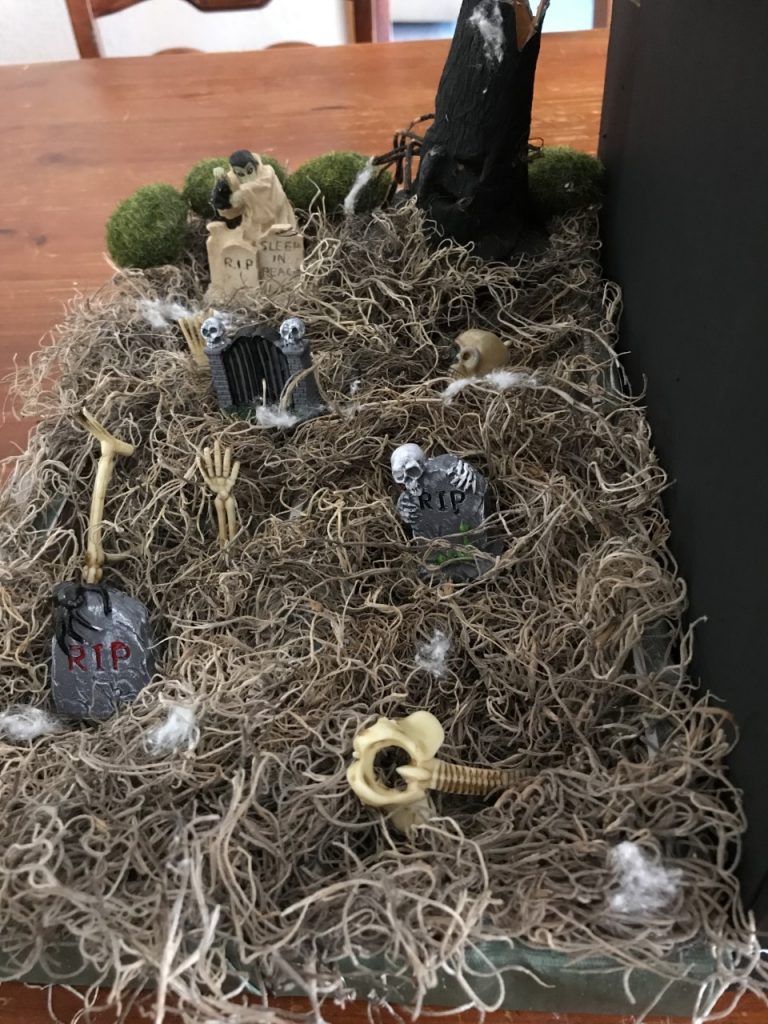
The last thing we did was string fairy lights and make a graveyard for the outside. I used Spanish moss hot-glued onto a canvas. Then we added a dismembered skeleton, some gravestones, a creepy tree, and a Dracula.
The Finished Haunted Dollhouse
Here’s the end result!
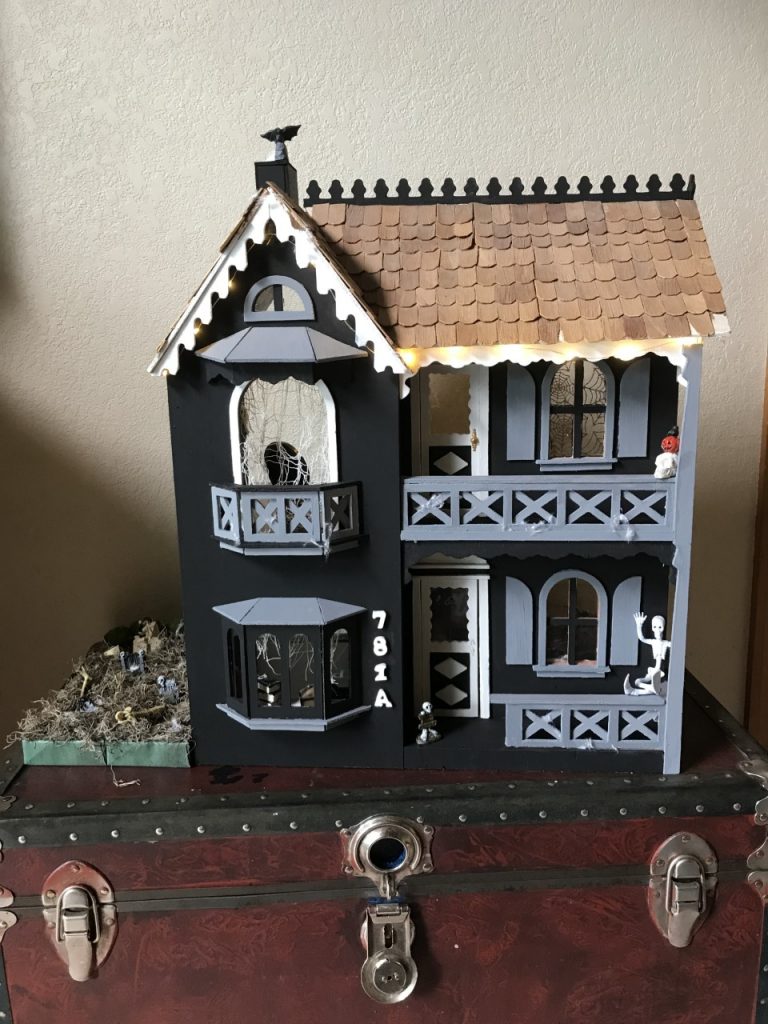
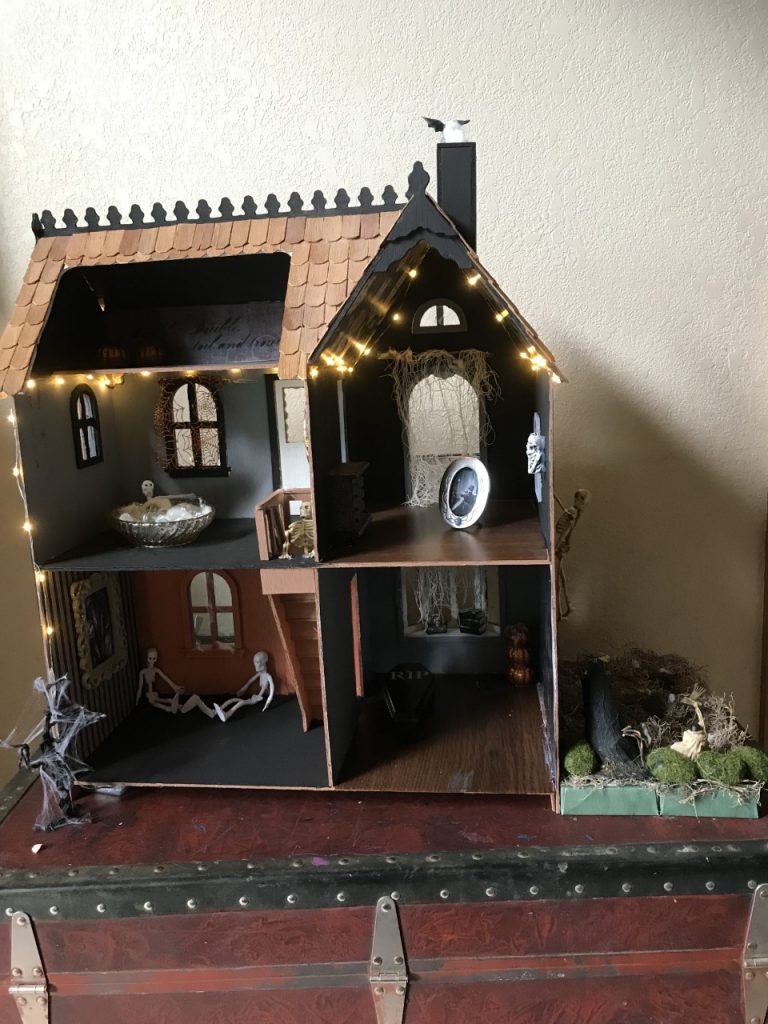
So that’s how to make a haunted dollhouse on the cheap! At least, that’s how we did it… What do you think? Goulishly fun, no?
What are some of your creepy haunted dollhouse ideas?
Pin It



Tanya Kirschbaum says:
Great job!thank u for the tips
August 21, 2020 — 11:27 pm
Melyssa Williams says:
You’re welcome! It was a very fun project and I don’t even like crafts!
September 20, 2020 — 10:20 pm
Ms Meg says:
Very nice! By the way the dollhouse is a Radmark “Whitney” – I’m rehabbing one now and I agree it would be much easier to paint before it was put together. The kit for this design is frequently found on Etsy or ebay.
September 19, 2020 — 10:24 pm
Melyssa Williams says:
Awesome to know!
September 20, 2020 — 10:21 pm
Sara says:
Absolutely darling!!
June 10, 2022 — 1:09 pm
Lark Kay says:
Awesome! Embarking on my first one! Thanks for sharing your tips and ideas. LOVE the photo of the plague masks, where did you find it??
July 3, 2022 — 9:24 pm